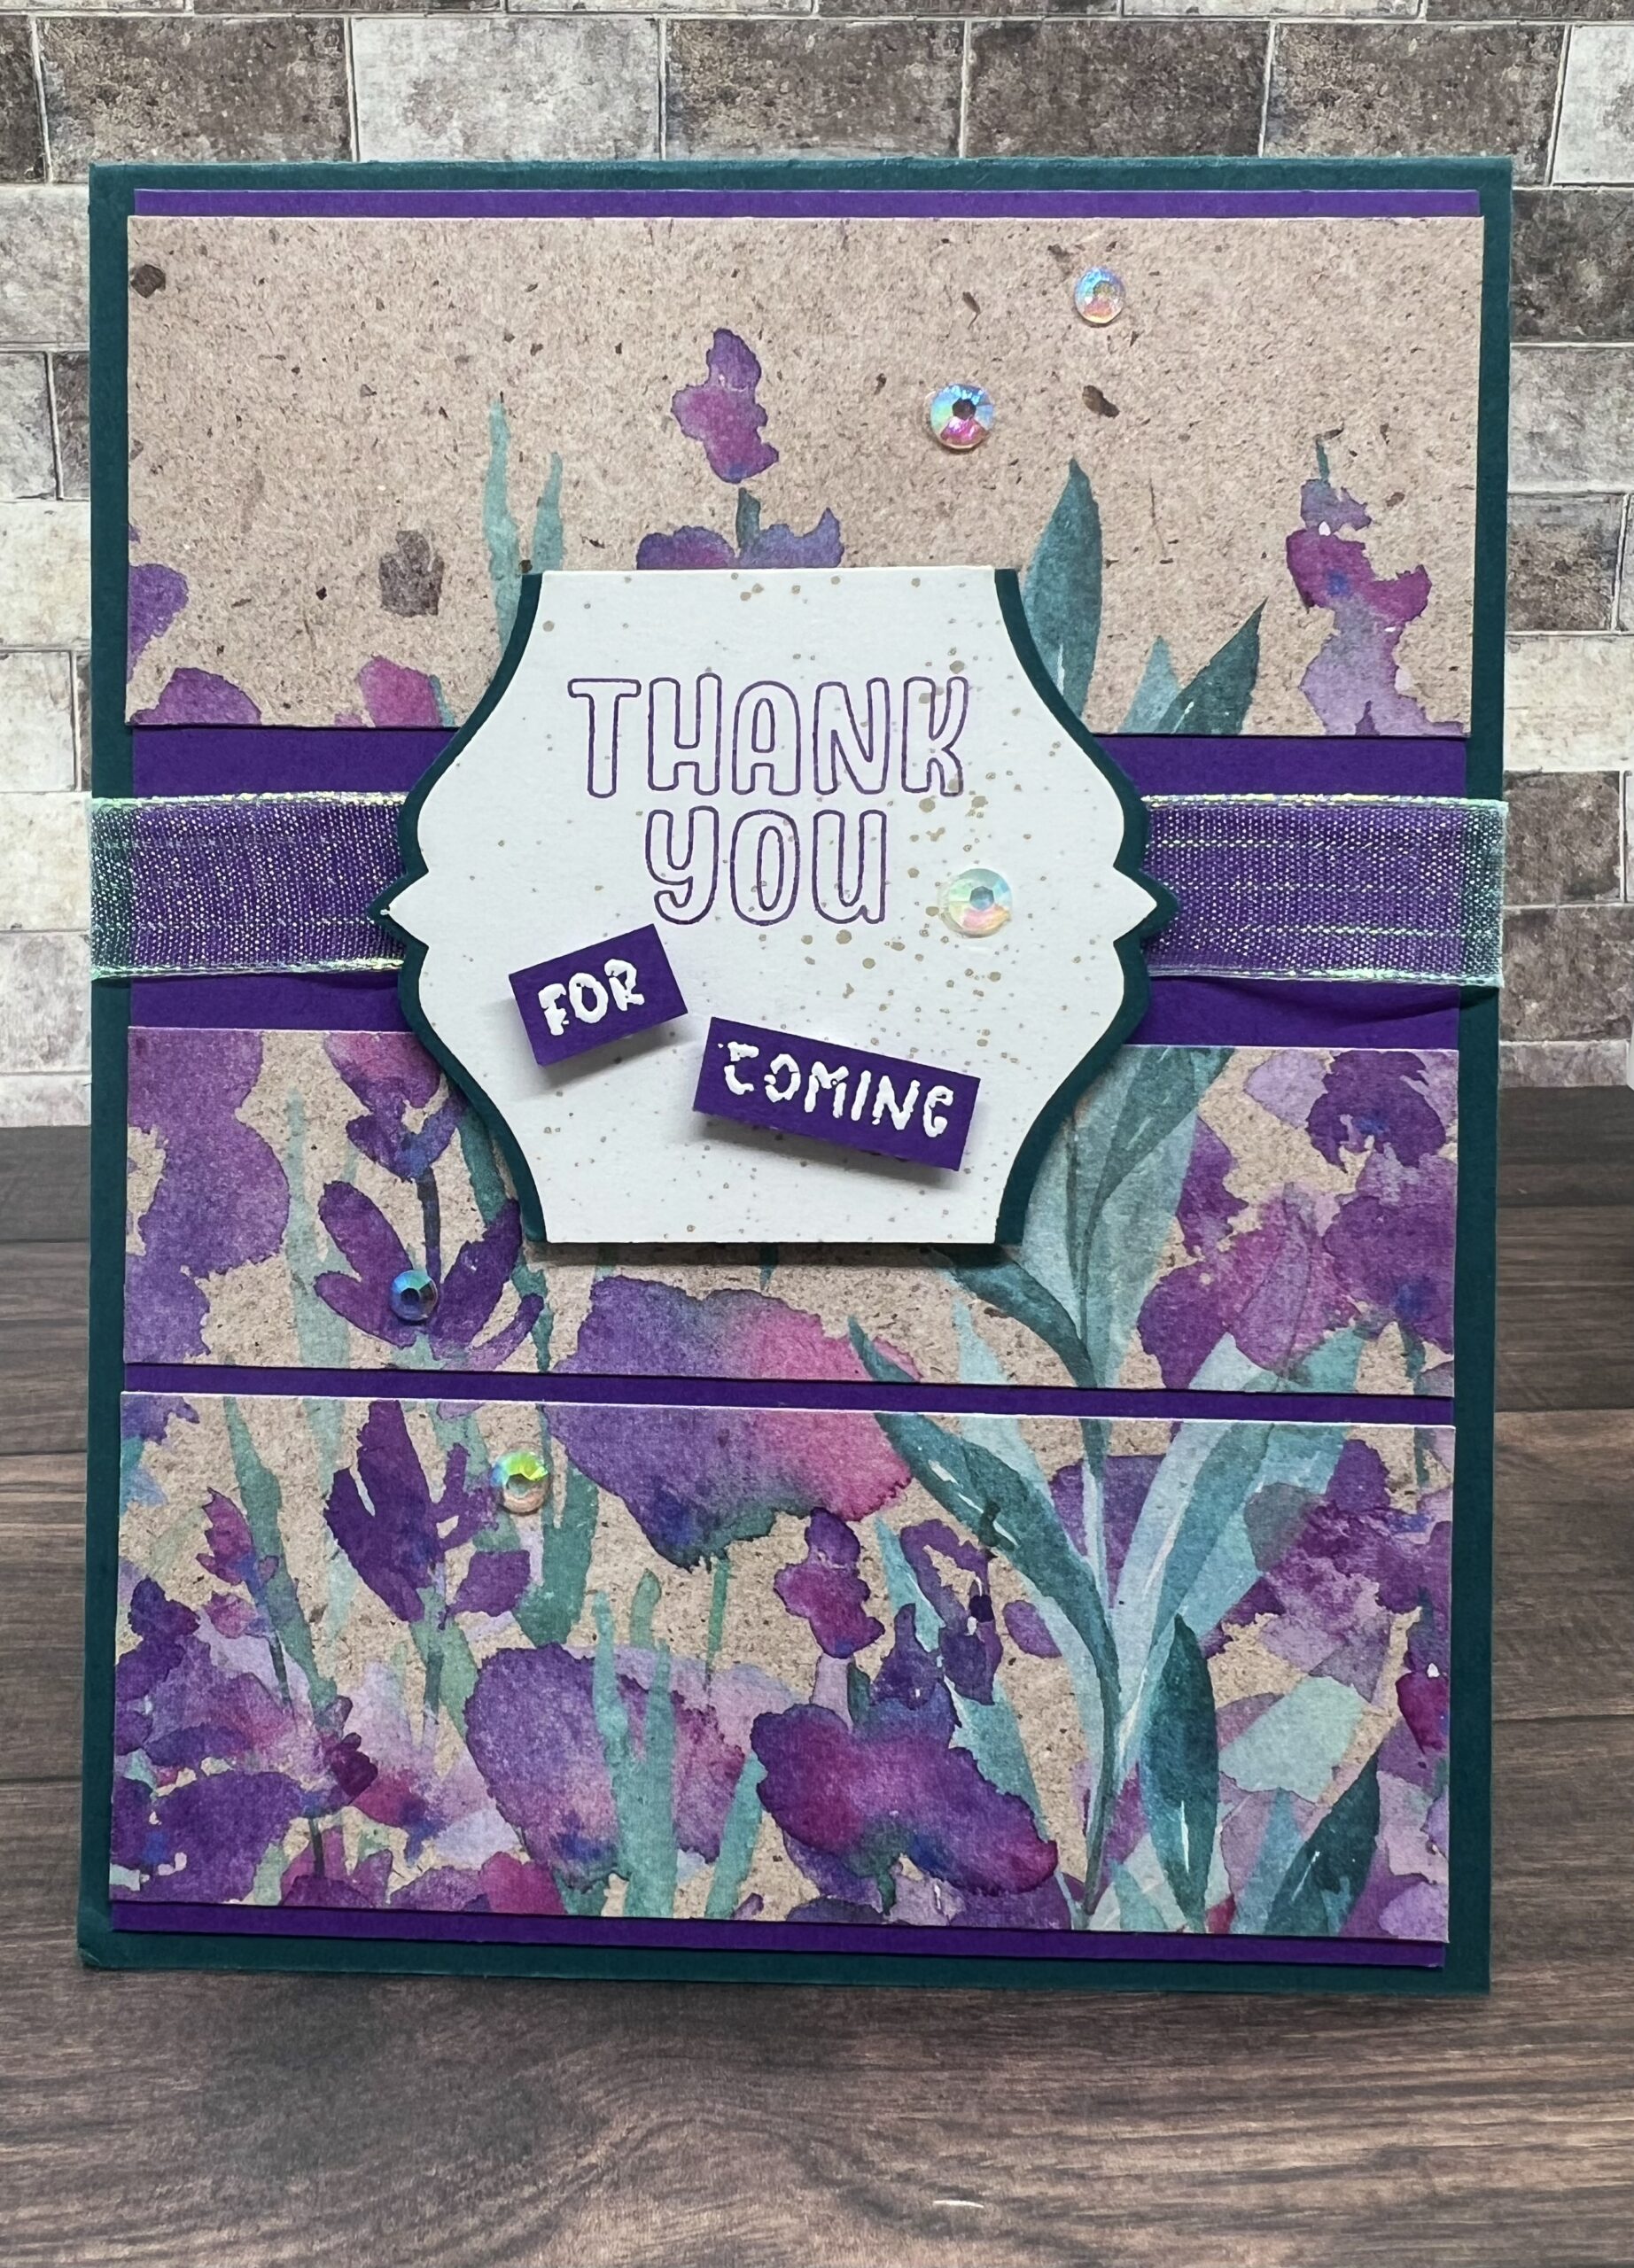
Today is the perfect time to share gratitude and brighten someone’s day with handmade thank you cards for spring! Whether you want to thank a friend, teacher, or someone special who made a difference, a spring-themed card adds a cheerful and personal touch.
In this blog hop, several “Sweet Stampeders” gather together to create a handmade card following a specific layout design shown below. The style and colors were up for your imagination. I decided to create “Spring Thank You” cards to show my appreciation for the extra time my friends spent to attend an event I co-hosted. I chose to use some spring florals designer series paper (DSP) to create this seasonal card.
What do you think?
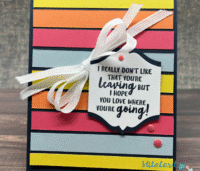
Layout Design Challenge
My Design!


Great!! I’m glad you like this card. This layout design is perfect for creating numerous cards when you are short on time. Afterall, we do have flowers to plant, graduations to attend, and other seasonal activities to prepare additional cards (Easter and Mother’s Day), and more outdoor events. Right!
How to Create THIS Featured Handmade Thank You Card
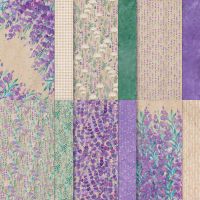
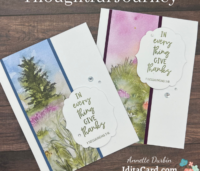
This handmade thank you card for spring is a simple card and great design for beginner avid stampers. Although I knew the layout design for this card, I was not sure which DSP I wanted to use. After I looked through my stash, I found this beautiful Perrenial Lavendar DSP that reminded me of spring. I love the color variety in this paper and decided to feature three colors: Gorgeous Grape, Crumb Cake, and Pretty Peacock.

Now that I have my design, paper, colors, and purpose, I’m ready to start creating!
Follow the steps below to create an identical card.
OR
Change up the DSP and sentiment to create your own unique card.
Check out the cute card I made shared at the end of this post with the same layout.
Steps to Create this Simple, Layout Card
1: The card base is Pretty Peacock ~ 4 1/4″ X 11″ scored at 5 1/2″.
2: The card panel is Gorgeous Grape ~ 4″ X 5 1/4″.
3: Cut the Perennial Lavendar DSP ~ 2 strips measuring: 1 1/2″ X 4″ and 1 strip measuring 1″ X 4″. Pro Tip: I chose to use DSP with a specific pattern. If you use this pattern, remember to cut the strips in the same order that you will adhere them to the card.
4: Arrange the strips following the layout design above. Adhere the strips to the card panel with seal.
5: Adhere the card panel to the card base.
6: Cut a piece of ribbon 9″ long. Wrap the ribbon around the card base and adhere the ribbon with liquid glue so the seem is on top of the card basse in the middle. The sentiment label will cover the glue seem.
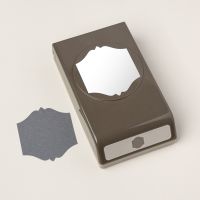
7: Create the sentiment label by using white card stock. Choose a sentiment (I chose Thank You) and stamp in Gorgeous Grape. Use the To the Point punch to punch out the sentiment. I just love punches! I also embossed “for coming” on Gorgeous Grape and used dimensions to for some depth.
8: Use the punch again to punch out the same shape with Pretty Peacock. Then cut this shape through the middle so you have 2 pieces. Glue each piece to the back of the sentiment to create a border.
9: Adhere the sentiment to the front of the card panel with dimensions.
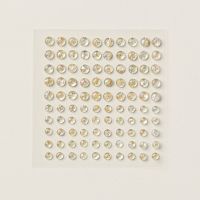
10: Finally, add some gems to the front of the card. Pro Tip: Always use an odd number of gems to fill in blank spaces.
OPTIONS for this Handmade Thank You Spring Card
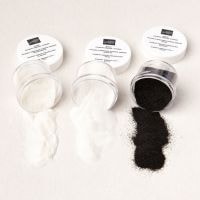
OPTION: I used my Crumb Cake blends to flick some color onto the white sentiment. I thought this added some texture and filled in some blank space.
OPTION: I like to add a little “extra” to the inside of my cards, so I used an extra piece of the DSP and adhered to the inside card panel. Completely optional, but I like how it makes the cards look extra special.
Here’s another peak at the completed Handmade Thank You Card for Spring!


Additional Design Sample
Isn’t this card fun!!! Using the same layout design, I created this card with embossed panels using the the metal plate folder on silver foil DSP. Such a fun BBQ look. I used the “Bistro Burger” stamp set to complete this card. This one is perfect for that special guy ~ think birthday, Father’s Day, or any celebration!


It’s Time to Hop Along!
Are you ready for more inspiration? Continue along the blog hop to see additional inspirational design theme creations by my friends. Then gather your supplies and start creating!!
Next up is the super creative, Jana Edwards, from “Stamped in Ink”. Click on the “Sweet Stampede Blog Hop” image to gather more inspiration at her blog.
Your Roll Call
Always remember . . . if you ever get lost on your journey . . . you can always come back to my page and scroll through the list of “Sweet Stampeders” participating in this month’s blog hop.
Lisa Cunningham ~ LC Designs
Rubina Pantoja ~ Paper Mania with Rubina
Heather Guerrero ~ Little Blue House
Patti Shanahan-Davidson ~ Patti’s Craftin’ Shenanigans
Suzy Hinton ~ Stamp n’ Sip
Annette Durbin ~ IditaCard Design – < < < YOU ARE HERE
Jana Edwards ~ Stamped in Ink
Erica Cerwin ~ Pink Buckaroo Designs
Final Thoughts
Did you know a thoughtful “thank you” goes a long way, and a handmade card makes it even more meaningful? Creating a beautiful handmade thank you card with a spring theme is perfect for showing appreciation this season! The next time you need to create a handmade card, use this layout design and samples along this blog hop journey to inspire your next creation. Who in your life could use a little extra appreciation this season?
Are you making any spring thank you cards this season? What colors or designs are you loving right now? Let’s share ideas and inspire each other!
Thanks for stopping by today!!! I look forward to more crafting with you!!
#SpringCrafting #HandmadeCards #PaperCraftLove
Supplies for this Spring Card
These are the supplies I used to create the card shared in this post. Questions . . . let me know. If you need help placing an order, I’d love to assist you in gathering your crafting supplies.
Product List